Suite de l’installation (Page 5)
Après l’installation de ISPConfig 3
20 Installation de Rouncube
Utilisation RoundCube Webmail Avec ISPConfig 3 sur Debian Wheezy (nginx)
Ce guide vous indique que vous installer l’application webmail RoundCube sur un serveur Debian Wheezy avec le panel dec configuration web, ISPConfig sous le serveur web Nginx, et comment activer les plugins ISPConfig plugins pour RoundCube afin que les utilisateurs peuvent effectuer des actions comme changer leurs mot de passe à partir de RoundCube. Roundcube Webmail est un client IMAP multilingue avec une interface utilisateur avec des fonctions comme le support MIME, carnet d’adresses, la manipulation des dossiers, la recherche de messages et la vérification orthographique.
20.1 Note préliminaire
Ce tutoriel vous suppose que vous utilisez nginx comme serveur Web et non pas Apache2. Je vais installer RoundCube depuis les dépôts Debian Wheezy – c’est une version stable récente (0.7.2.9 vs 0.9.1 (version actuelle)).
Je vais vous montrer comment configurer un serveur virtuel pour RoundCube afin qu’il puisse être accessible par l’alias / webmail (par exemple http://www.example.com/webmail).
20.2 Création d’un utilisateur
Les plugins pour ISPConfig et pour RoundCube travaillent via l’API à distance avec ISPConfig. Pour utiliser cette API, nous avons besoin d’un utilisateur distant. Pour créer un tel utilisateur, sélectionnez System > User Management > Remote Users et cliquez sur le bouton Add new user pour ajouter cette utilisateur :

Créer un nom d’utilisateur et mot de passe …

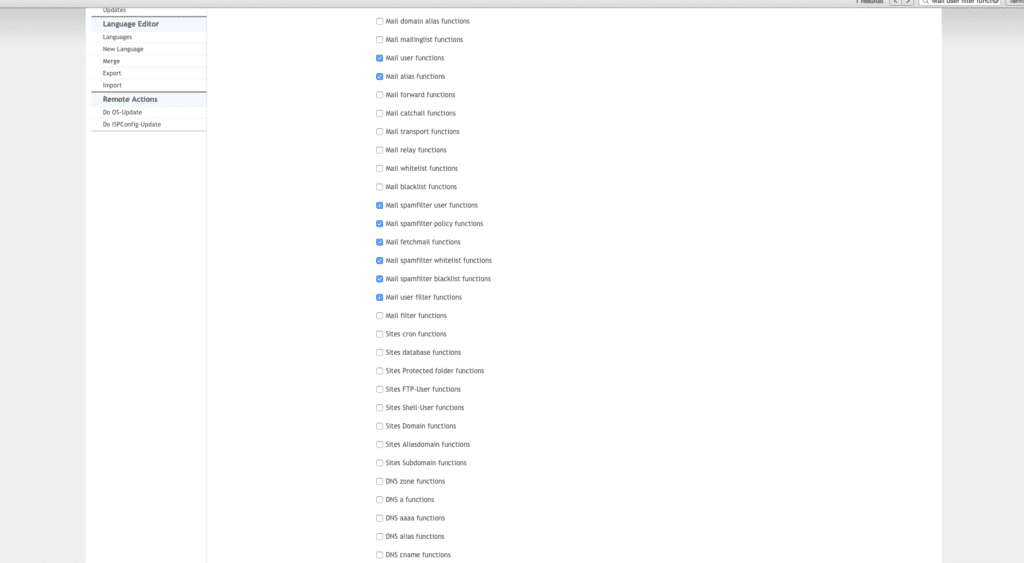
… Et activer les fonctions suivantes:
- Server functions
- Client functions
- Mail user functions
- Mail alias functions
- Mail spamfilter user functions
- Mail spamfilter policy functions
- Mail fetchmail functions
- Mail spamfilter whitelist functions
- Mail spamfilter blacklist functions
- Mail user filter functions
Ensuite, cliquez sur Enregistrer.
20.3 Installer RoundCube
Installer RoundCube comme ceci :
apt-get install roundcube roundcube-plugins roundcube-plugins-extra
Activer les functions suivantes :
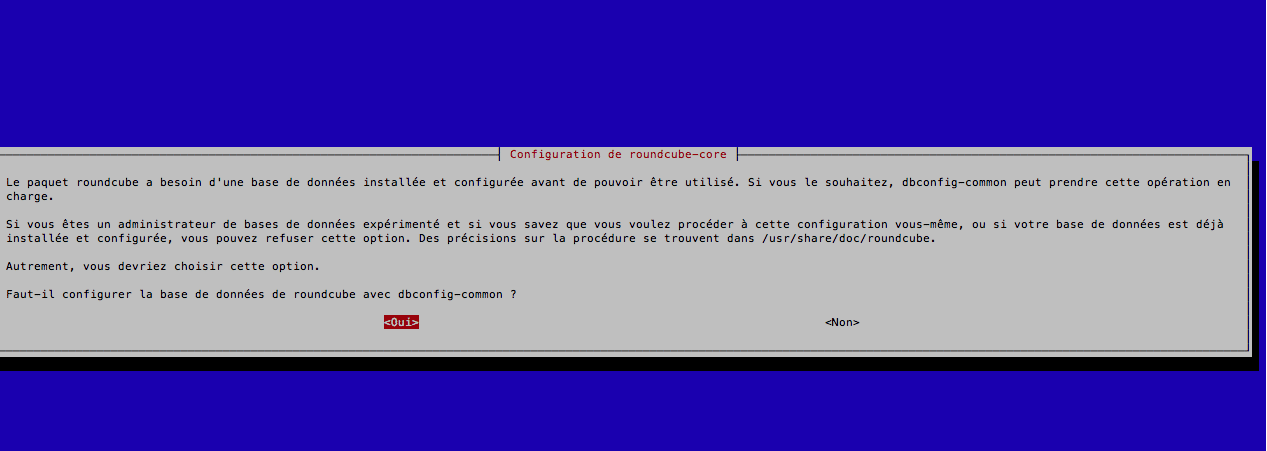
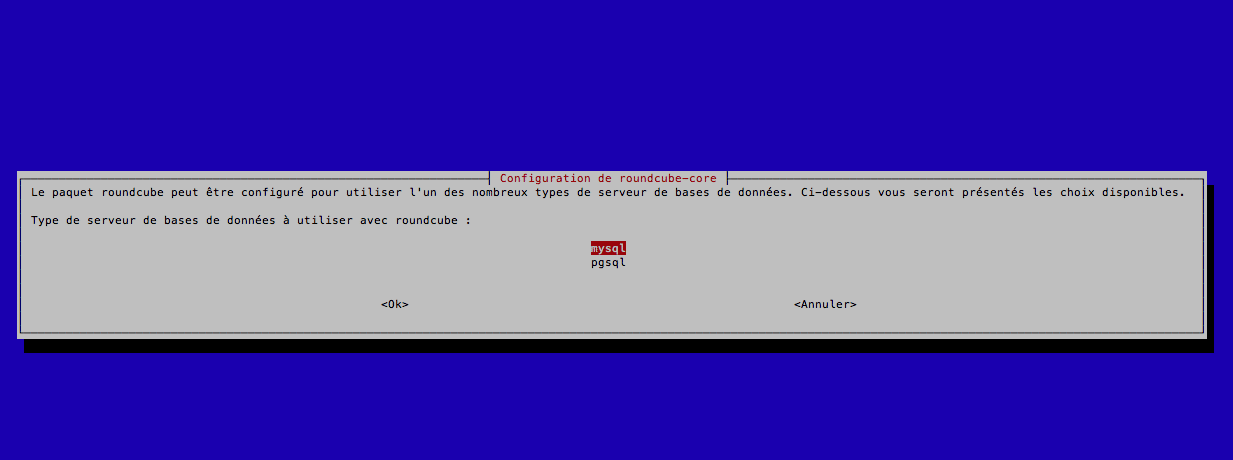
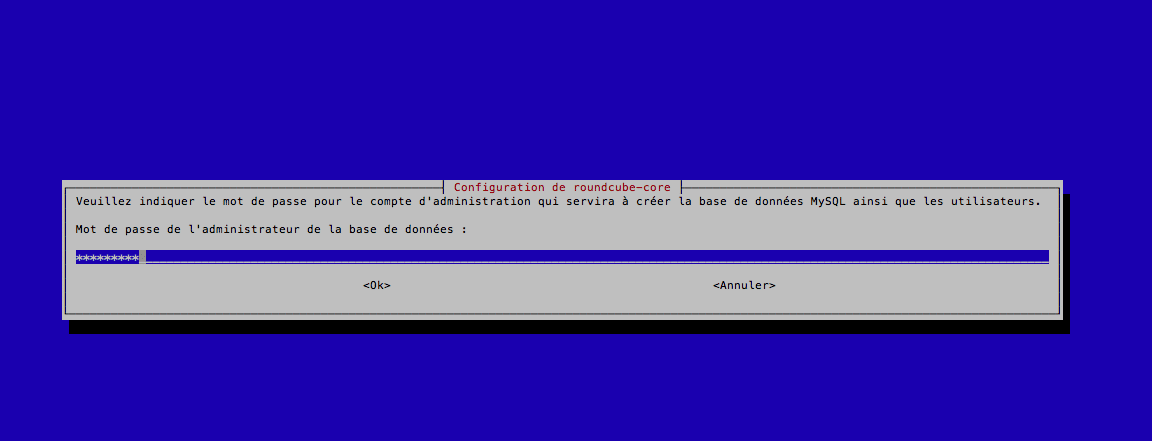
Cela va créer une base de données MySQL appelée roundcube Roundcube avec l’ utilisateur roundcube et le mot de passe roundcubesqlpassword
Ensuite, allez vers votre site dans ISPConfig. Dans l’onglet Options, et dans le champ nginx Directives :
Remplissez les directives suivantes et cliquez sur enregistré sur le bouton Save (il n’a pas d’importance si vous avez activé PHP pour ce serveur virtuel ou pas parce que ce bout de code utilise par défaut le PHP du système qui fonctionne sous l’utilisateur et le groupe www-data qui est important parce que RoundCube est installé en dehors de la racine de l’hôte virtuel – dans /var/lib/roundcube) :
client_max_body_size 100M;
location /roundcube {
root /var/lib/;
index index.php index.html index.htm;
location ~ (.+\.php)$ {
try_files $uri =404;
include /etc/nginx/fastcgi_params;
# To access SquirrelMail, the default user (like www-data on Debian/Ubuntu) must be used
#fastcgi_pass 127.0.0.1:9000;
fastcgi_pass unix:/var/run/php5-fpm.sock;
fastcgi_index index.php;
fastcgi_intercept_errors on;
fastcgi_param SCRIPT_FILENAME $document_root$fastcgi_script_name;
fastcgi_buffer_size 128k;
fastcgi_buffers 256 4k;
fastcgi_busy_buffers_size 256k;
fastcgi_temp_file_write_size 256k;
}
location ~* /.svn/ {
deny all;
}
location ~* /README|INSTALL|LICENSE|SQL|bin|CHANGELOG$ {
deny all;
}
}
location /webmail {
rewrite ^ /roundcube last;
}
Avec cette configuration, RoundCube sera accessible dans les URL http://www.example.com/webmail et http://www.example.com/roundcube.
20.4 Configurer Roundcube
Editer le fichier /etc/roundcube/main.inc.php…
nano /etc/roundcube/main.inc.php
et définir $rcmail_config['default_host'] = 'localhost'; (ou le nom d’hôte ou l’adresse IP de votre serveur de messagerie si elle est sur une machine distante) :
[...]

$rcmail_config['default_host'] = 'localhost';

[...]
Sinon RoundCube demandera un nom d’hôte avant chaque connexion de vos utilisateurs.
Ensuite, installez les plugins de ISPConfig 3 pour RoundCube :
cd /tmp

git clone https://github.com/w2c/ispconfig3_roundcube.git

cd /tmp/ispconfig3_roundcube/

mv ispconfig3_* /var/lib/roundcube/plugins

cd /var/lib/roundcube/plugins

mv ispconfig3_account/config/config.inc.php.dist ispconfig3_account/config/config.inc.php
Editer le fichier ispconfig3_account/config/config.inc.php...
nano ispconfig3_account/config/config.inc.php
.. Et remplir les informations de connexion de votre utilisateur distant ISPConfig et l’URL de l’API à distance – l’installation d’ISPConfig fonctionne sur https://192.168.0.100:8080, si l’URL de l’API à distance est https://192.168.0.100:8080/remote/ :
[...]

$rcmail_config['identity_limit'] = false;

$rcmail_config['remote_soap_user'] = 'roundcube';

$rcmail_config['remote_soap_pass'] = 'roundcube';

$rcmail_config['soap_url'] = 'http://192.177.167.44:8080/remote/';

[...]
Enfin éditer à nouveau le fichier /etc/roundcube/main.inc.php …
nano /etc/roundcube/main.inc.php
… Et activer le plugin de jquerui…
[...]

// ----------------------------------

// PLUGINS

// ----------------------------------
// List of active plugins (in plugins/ directory)
//$rcmail_config[‘plugins’] = array();
$rcmail_config[‘plugins’] = array(« jqueryui », « ispconfig3_account », « ispconfig3_autoreply », « ispconfig3_pass », « ispconfig3_spam », « ispconfig3_fetchmail », « ispconfig3_filter »);
[…]
…et changer le skin par défaut (sinon le plugins ISPConfig 3 ne fonctionnent pas) :
[...]

// skin name: folder from skins/

$rcmail_config['skin'] = 'classic';

[...]
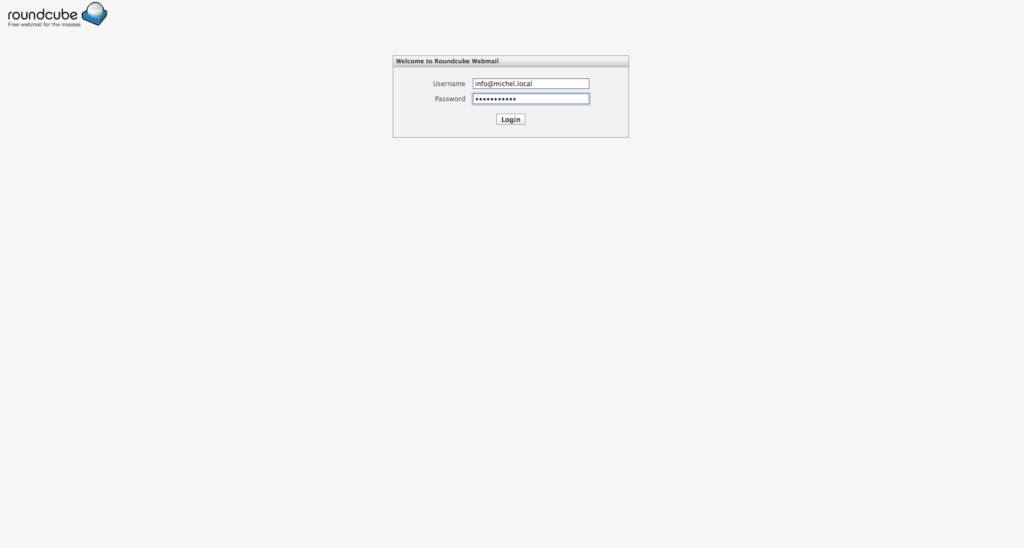
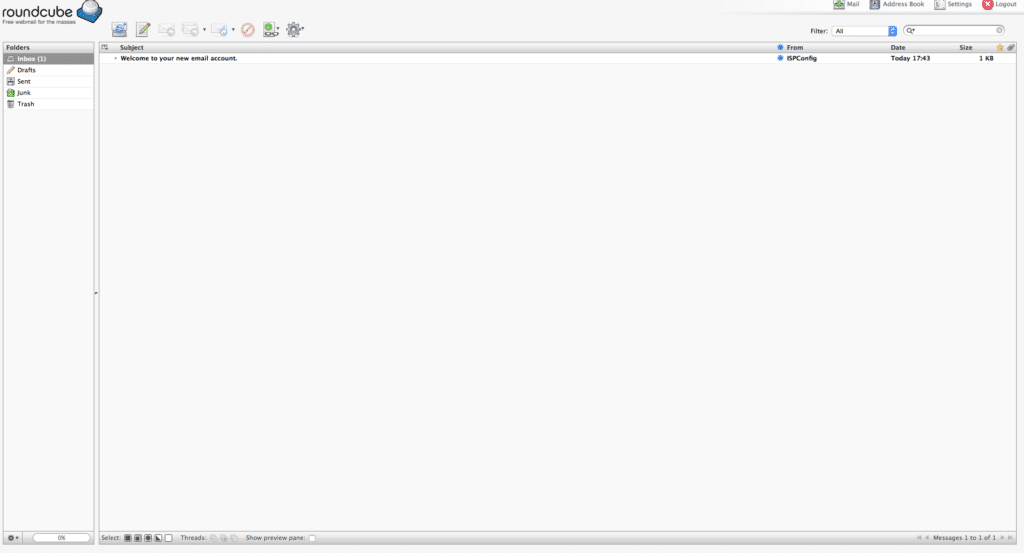
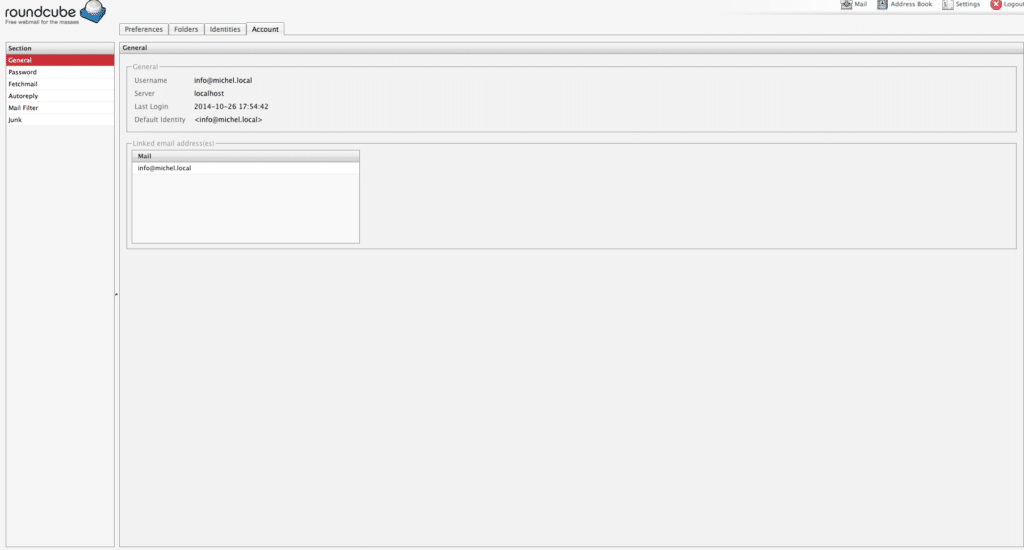
C’est tout; maintenant vous pouvez accéder à RoundCube sous l’alias /webmail (par exemple www.example.com/webmail). Connectez-vous avec l’adresse e-mail et mot de passe de votre compte de messagerie créé avec ISPConfig :

21 Installation de ISPConfig 3
Pour installer ISPConfig 3 de la dernière version disponible, procédez comme-ci :
cd /tmp

wget http://www.ispconfig.org/downloads/ISPConfig-3-stable.tar.gz

tar xfz ISPConfig-3-stable.tar.gz

cd ispconfig3_install/install/
Exécuter cette commande comme ceci :
php -q install.php
Cela va démarrer l’installation ISPConfig 3. Le programme d’installation configure tous les services comme Postfix, SASL, Courier, etc. pour vous.
php -q install.php

PHP Deprecated: Comments starting with '#' are deprecated in /etc/php5/cli/conf.d/ming.ini on line 1 in Unknown on line 0
——————————————————————————–
_____ ___________ _____ __ _ ____
|_ _/ ___| ___ \ / __ \ / _(_) /__ \
| | \ `–.| |_/ / | / \/ ___ _ __ | |_ _ __ _ _/ /
| | `–. \ __/ | | / _ \| ‘_ \| _| |/ _` | |_ |
_| |_/\__/ / | | \__/\ (_) | | | | | | | (_| | ___\ \
\___/\____/\_| \____/\___/|_| |_|_| |_|\__, | \____/
__/ |
|___/
——————————————————————————–
>> Initial configuration
Operating System: Debian 7.0 (Wheezy/Sid) or compatible
Following will be a few questions for primary configuration so be careful.
Default values are in [brackets] and can be accepted with .
Tap in « quit » (without the quotes) to stop the installer.
Select language (en,de) [en]:
Installation mode (standard,expert) [standard]:
Full qualified hostname (FQDN) of the server, eg server1.domain.tld [nginx.local]:
MySQL server hostname [localhost]:
MySQL root username [root]:
MySQL root password []: Votre mot de passe Mysql
MySQL database to create [dbispconfig]:
MySQL charset [utf8]:
Generating a 4096 bit RSA private key
………………++
…………………………………………………………..++
writing new private key to ‘smtpd.key’
—–
You are about to be asked to enter information that will be incorporated
into your certificate request.
What you are about to enter is what is called a Distinguished Name or a DN.
There are quite a few fields but you can leave some blank
For some fields there will be a default value,
If you enter ‘.’, the field will be left blank.
—–
Country Name (2 letter code) [AU]:
State or Province Name (full name) [Some-State]:
Locality Name (eg, city) []:
Organization Name (eg, company) [Internet Widgits Pty Ltd]:
Organizational Unit Name (eg, section) []:
Common Name (e.g. server FQDN or YOUR name) []:
Email Address []:
Configuring Jailkit
Configuring Dovecot
Configuring Spamassassin
Configuring Amavisd
Configuring Getmail
Configuring Pureftpd
Configuring BIND
Configuring nginx
Configuring Vlogger
Configuring Apps vhost
Configuring Bastille Firewall
Configuring Fail2ban
Installing ISPConfig
ISPConfig Port [8080]:
Do you want a secure (SSL) connection to the ISPConfig web interface (y,n) [y]: n
Configuring DBServer
Installing ISPConfig crontab
no crontab for root
no crontab for getmail
Restarting services …
Stopping MySQL database server: mysqld.
Starting MySQL database server: mysqld ..
Checking for tables which need an upgrade, are corrupt or were
not closed cleanly..
Stopping Postfix Mail Transport Agent: postfix.
Starting Postfix Mail Transport Agent: postfix.
Stopping amavisd: amavisd-new.
Starting amavisd: amavisd-new.
Stopping ClamAV daemon: clamd.
Starting ClamAV daemon: clamd .
Restarting IMAP/POP3 mail server: dovecot.
Reloading PHP5 FastCGI Process Manager: php5-fpm.
Reloading nginx: nginx.
Restarting ftp server: Running: /usr/sbin/pure-ftpd-mysql-virtualchroot -l mysql:/etc/pure-ftpd/db/mysql.conf -l pam -A -O clf:/var/log/pure-ftpd/transfer.log -u 1000 -Y 1 -H -b -D -8 UTF-8 -E -B
Installation completed.
Le programme d’installation configure automatiquement tous les services, aucune configuration manuelle est nécessaire.
Vous avez désormais la possibilité de laisser le programme d’installation de créer un serveur virtuel SSL pour le panneau de contrôle ISPConfig, de sorte que ISPConfig peut être accessible via https:// au lieu de http://. Pour ce faire, appuyez simplement sur ENTRER quand vous voyez cette question :Do you want a secure (SSL) connection to the ISPConfig web interface (y,n) [y]:.
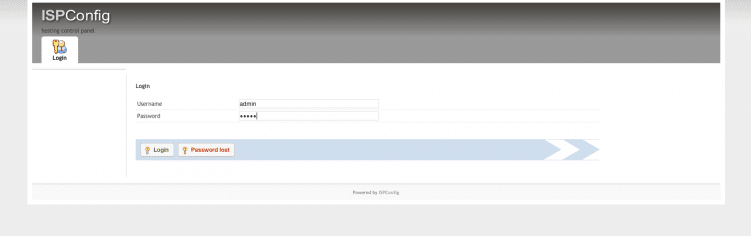
Ensuite, vous pouvez accéder à ISPConfig 3 sous http(s)://nginx.local:8080/ ou http(s)://10.211.55.10:8080/ (http ou https dépend de ce que vous avez choisi lors de l’installation). Connectez-vous avec le nom d’utilisateur admin et le mot de passe admin (vous devriez changer le mot de passe par défaut après votre première connexion) :

![]()

![]()

![]()
![]()


![]()
![]()


